The Micrometer
The micrometer, also commonly known as a “mic” [maik] is a precision measurement instrument used to measure dimensions in graduations of 0.001″, 0.0001″, and 0.00005″. It provides the highest accuracy of all hand-held precision measurement instruments. As a result, the micrometer is used anywhere precise and accurate measurements are required, including almost every industry. Engineers, metrologists, machinists and quality control specialists depend on micrometers to provide accurate measurements during daily operations.
There are many types of micrometers, including a slew of specialty instruments. Let’s examine just a few of the most commonly used types.
Most Common Types of Micrometers
- Inside micrometers are used to measure internal dimensions, such as the inside diameter of a wheel.
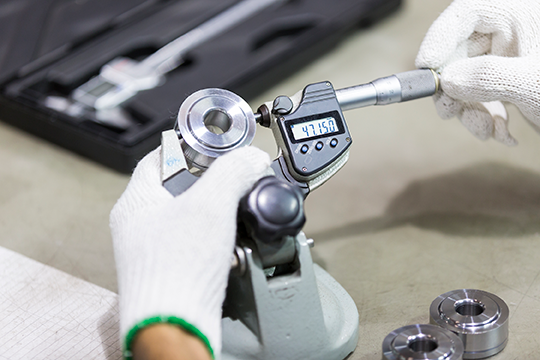
- Outside micrometers can be used to measure the outside diameter or thickness of an object. This may be the most commonly used type of micrometer.
- Depth micrometers are used to measure depth, as in the depth of holes, slots, etc.
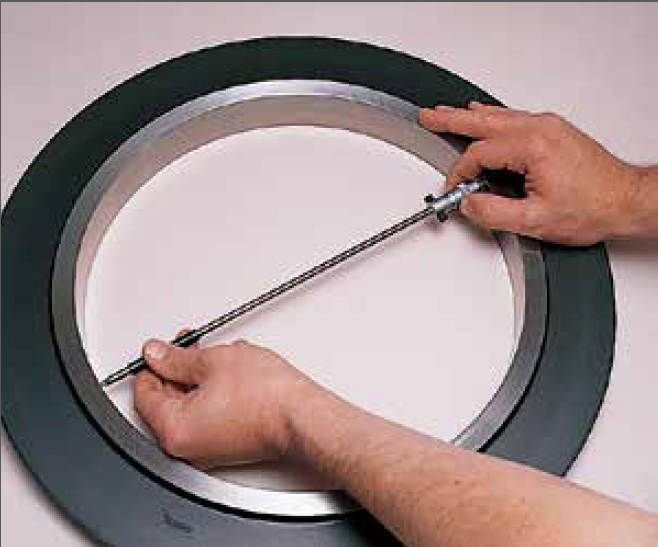
Inside micrometer

Outside micrometer
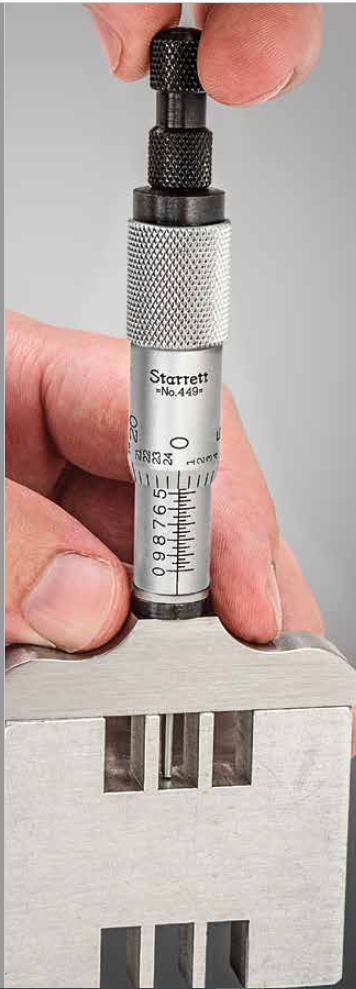
Depth micrometer
Other Types of Micrometers
- Tube micrometers are used to measure thickness, such as the thickness of a pipe.
- Rod micrometers are used to measure inside dimensions of holes, tubes, etc. by utilizing interchangeable rods.
- Caliper-type micrometers have jaws similar to those found on a vernier caliper, which are used to measure dimensions of subjects that may be difficult to access.
- Bore micrometers (Tri-Mic) are used to measure the inside diameter of pipes, tubes, cylinders, etc. using multiple anvils as points of contact.
Considerations When Choosing a Micrometer
Deciding which type of micrometer to use can be difficult. There are several factors to consider, including the object being measured, the environment in which the measurements will be taken, and the output method. First, users must determine which type of micrometer is best for the object and dimension being measured. Some instances may even require the use of multiple types of micrometers. For example, imagine that you were building an engine and needed to make a piston. You would need one cylinder (the piston) to fit within another cylinder (the valve housing). To determine the diameter of the piston, you would use each of the following micrometers:
- An inside micrometer to measure the inside diameter of the valve housing
- An outside micrometer to measure the outside diameter of the piston
- A depth micrometer to measure the depth of the valve housing to make sure the piston is the correct length
IP Ratings
Next, users must consider the environment in which the micrometer will be used. Micrometers are available in different IP ratings, which allows users to purchase a micrometer designed to withstand their environment. IP ratings describe the level of protection the equipment offers against entry of foreign materials such as dust or water. For example, a micrometer rated IP67 offers total protection against dust and short periods of immersion (up to 30 minutes) in water (up to 1 m). Choose the IP rating appropriate for the environment in which the equipment will be used in order to ensure its longevity.
Learn more about IP ratings in our blog post Intrinsically safe, explosion proof & IP ratings…. What does it all mean?
Output
Finally, users must consider how measurements should be displayed. Both mechanical and digital micrometers are available, allowing users to choose their preferred measurement reading method. Mechanical micrometers may be the preferred choice in a machine shop, while a backlit, digital micrometer display may be a better option for a dark area in the field.
Some micrometers also feature data transmission capabilities via SPC output. In these models, users can push a button on the micrometer to transmit measurement data to a receiver. The receiver is normally connected to a computer, where the measurement readings are recorded and can be analyzed more efficiently. This is a great option for users who may be coordinating with other departments, those interested in increasing efficiency, or minimizing human error while recording measurement data.
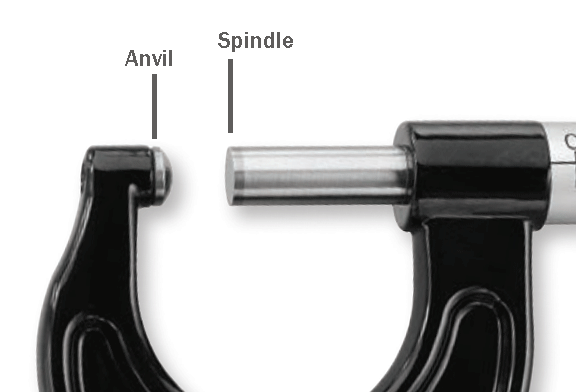
Micrometer Anvils
Micrometers utilize different types of anvil/spindle combinations to measure different objects. Each micrometer anvil serves a specific purpose. For example, a V-shaped micrometer anvil can be paired with a flat or pointed spindle, and is used to provide measurements of round objects such as balls and pin gages. While a rounded micrometer anvil is used to measure the wall thickness of cylinders, rings, or other parts.
Learn more about anvil types in our blog post Types of Micrometer Anvils.
To determine which type of micrometer is best for your application, consider the following factors:
- Type of measurement being taken
- Environment in which the measurement is taken
- Desired measurement reading display method
- Data transmission capability
Imagine that you need to measure the thickness of pipe walls inside of a wall, then quickly get those measurement readings to a coworker standing by in the quality control department. The area is dusty and the pipes are periodically sprayed with low pressure water jets during production. In this situation, a tube micrometer with an IP rating of at least IP65 that includes an SPC output capability would provide the perfect solution.
Maintenance
Micrometer maintenance should include regular cleaning, proper storage, regular calibration & handling with care. Users should use dry, lint-free cloths to clean the anvil and spindle measurement faces, as dust can scratch them easily.
Micrometers should be at room temperature, in their original cases, in an area with low humidity. It is also helpful to apply a small amount of silicon-free lubricant to the instrument before or after storage to help prevent corrosion. Lastly, ensure that the measuring faces are not touching during storage.
Learn more about proper equipment maintenance in our Dimensional Tool Care Tips post.
Common Issues
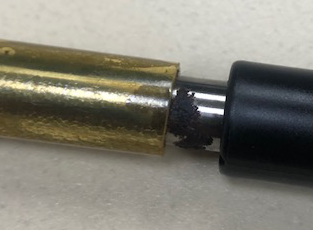
The most common issues with micrometers are caused by improper handling. For example, dropping any precision measurement instrument can cause unrepairable damage. Alternatively, if an operator applies too much pressure when taking a measurement, or if abrasive dust is trapped between the test subject and the anvil or spindle measuring face, damage can occur. The best way to prevent damage is to properly maintain equipment. Users should regularly inspect equipment to check for chips, nicks, etc. on the anvil or spindle measuring faces, and have equipment calibrated regularly by an ISO 17025 accredited calibration lab to ensure accuracy.
We can help you choose and maintain a quality micrometer
The Michelli Weighing & Measurement team of experts can help you determine the best micrometer for your application. We can also help with maintenance and calibration. Contact your nearest location today.
