Wondering how to calibrate a scale?
When performing scale calibration, technicians test the scale using the applied weight required based on the scale’s maximum capacity. The specific requirement for each capacity of scale can be found in Handbook 44, the standard produced by the National Conference on Weights & Measurements that provides technical requirements for commercial weighing & measuring devices. To calibrate a scale, the technician utilizes certified test weights to apply the recommended applied load amount to the scale, then ensures that the scale indicator displays the correct amount of weight. The key to proper scale calibration is having the correct tools for the job.
Certified test weights
We cannot discuss how to calibrate a scale without discussing certified test weights. Certified test weights, sometimes referred to as “calibration weights” are required to properly calibrate a scale. Test weights are available in a wide range of classes. Some classes are used to test lab balances, while others are used to test truck scales.
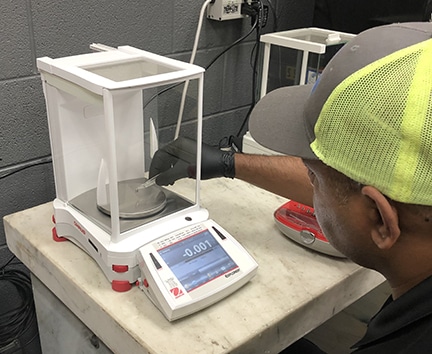
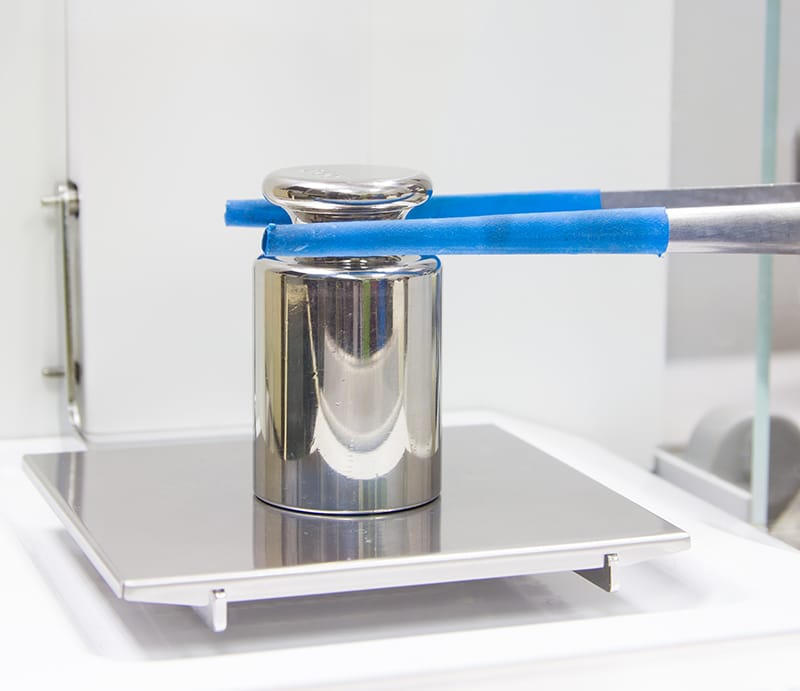
For example, ASTM Class 1 test weights are used to calibrate high precision scales, analytical lab balances & semi-micro balances. During use, calibration technicians wear gloves to handle these test weights, as dirt or oil from their fingers could contaminate the weight & alter its tolerance.
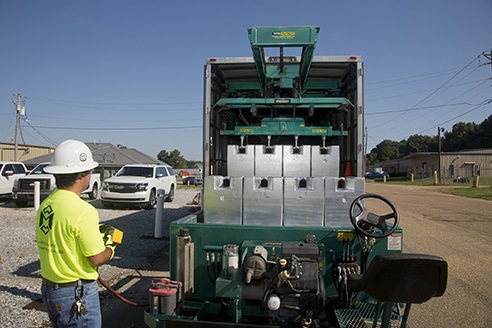
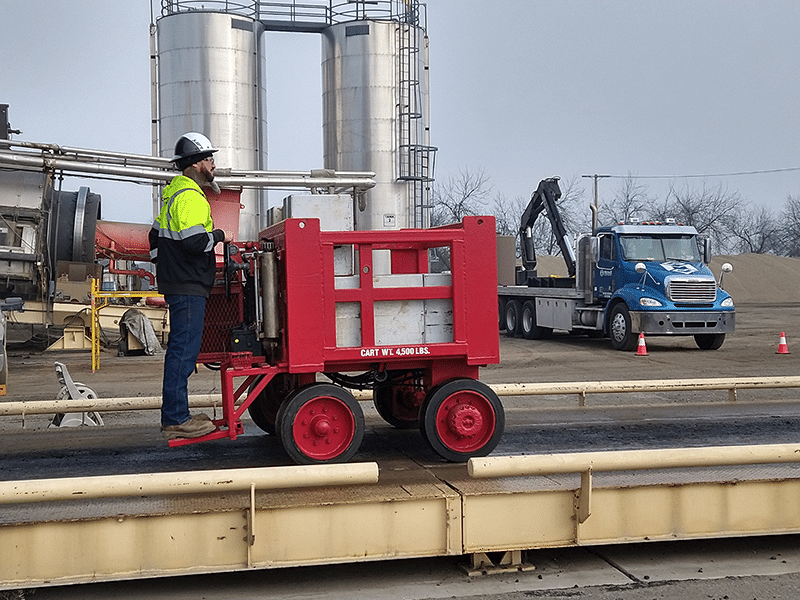
Alternatively, ASTM Class 6 test weights may be found in the back of a heavy duty test truck. These weights are used for industrial applications. Some may be so large that to place them on a scale, the technician must use a crane. Michelli Weighing & Measurement service technicians often utilize heavy duty test carts to perform industrial heavy capacity calibrations.
Test weights are certified at predetermined intervals based on the weight class. For test weight calibration, test weights are sent to a state calibration lab that holds a Certificate of Metrological Traceability from the NIST Office of Weights and Measures. There, calibration technicians compare the test weights to a reference standard.
If the mass of the test weight matches that of the standard, a calibration certificate is issued. This certificate provides traceability by documenting the calibration date, and the standard used to calibrate each test weight. If the test weight does not match the standard, it is either adjusted or marked out of tolerance, decommissioned, and removed from service. Michelli Weighing & Measurement does provide mass calibration services. Please visit our mass calibration services page to learn more.
How to Calibrate a Scale
During scale calibration, weight is applied using certified test weights, so the technician knows exactly how many pounds should be displayed on the indicator. If the scale indicator does not display the correct amount of weight, then the technician should adjust the scale as needed until the weight displayed on the indicator is consistent with the weight being applied to the scale.
Let’s assume the service technician performing this scale calibration has already checked Handbook 44 and determined the amount of “applied load” he is required to use to test the scale based on its capacity. Here are the steps he should take to perform scale calibration.
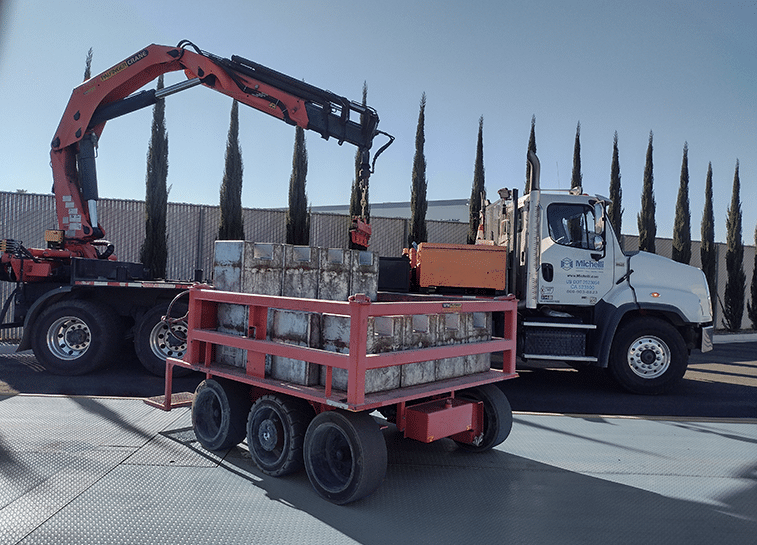
Apply test weights to the scale
The technician should apply the correct amount of test weights to reach the applied load specified in handbook 44 for the scale he is calibrating. The technician should test the center and each corner of the scale by placing the test weight in the center, and then on each corner to confirm that the reading, or the weight displayed on the weight indicator, reflects the correct amount.
The goal in this step is to ensure that the correct weight reading is displayed on the weight indicator, regardless of where the end user applies a load on the scale platform.
Make adjustments as needed
If the scale is out of tolerance, he will perform scale calibration by making adjustments as needed to ensure the proper weight is displayed.
If the scale passed each step and is displaying the correct weight reading after testing, the service technician will apply a calibration sticker that includes the date of calibration, the technician’s name and state license #, along with the date that the scale is next due for calibration.
How often should scale calibration be performed?
While state agencies may give calibration requirements to maintain certification status, calibration frequency should actually be determined by the value of goods being weighed on a particular scale. If a customer is buying or selling based on weight, and their purchase price per pound is significant, an annual calibration is not sufficient to ensure that they are not giving away money. Alternatively, customers whose purchase price per pound is low may not feel the need to perform calibration more often than required by their governing body.
The real cost of inaccurate weighing:
Click here to use our inaccuracy calculator to determine your own potential losses
|
Material cost p/lb: |
$1.00 |
|
Scale error in lbs: |
5 lbs |
|
Loads purchased per day: |
1 |
|
Days per week: |
5 |
|
Weekly Loss: |
$25.00 |
|
Average Monthly Loss: |
$100.00 |
|
Annual Loss: |
$1,300.00 |
This customer may decide that the cost of calibration is higher than their potential loss, and decide to only have calibration performed at the frequency required by their governing body.
|
Material cost p/lb: |
$10.00 |
|
Scale error in lbs: |
20 lbs |
|
Loads purchased per day: |
30 |
|
Days per week: |
5 |
|
Weekly Loss: |
$30,000.00 |
|
Average Monthly Loss: |
$120,000.00 |
|
Annual Loss: |
$1,560,000.00 |
This customer should recognize that the potential loss caused by an inaccurate scale is significantly more than the cost of more frequent calibrations. This end user would benefit most from a preventative maintenance service agreement with Michelli Weighing & Measurement, where service technicians perform scale calibration at regular, predetermined intervals to ensure that they do not give away money.
More frequent calibration helps to ensure that the weight readings being produced by the scale are accurate, which helps to ensure that they are spending the correct amount on product.
By utilizing a professional calibration service, end users are able to place the burden of proof and traceability on the service provider. Not only does this remove the cost of recertification from the end user, but the service provider is responsible for providing traceability. Traceability is used to prove that the test weights being used have been certified as often as required by law, and are therefore capable of being used in scale calibration to produce accurate results. Lastly, by trusting a professional calibration service provider, end users can rest assured that the calibration was performed correctly and that their scale is producing accurate readings.
Let our experts handle your scale calibration
Don’t guess whether your scale is producing accurate readings. Trust the experts to make sure your scales remain in tolerance. Contact your local Michelli Weighing & Measurement location today.
